Getting started with Xcode
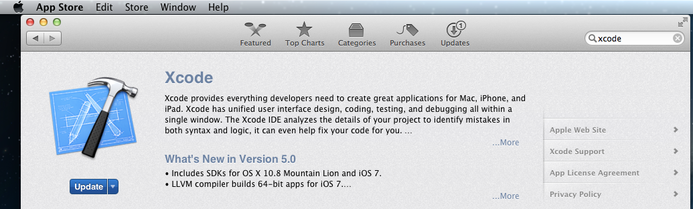
Install Xcode from the Mac App Store. You will probably need to register an account with Apple, if you have not done so already.
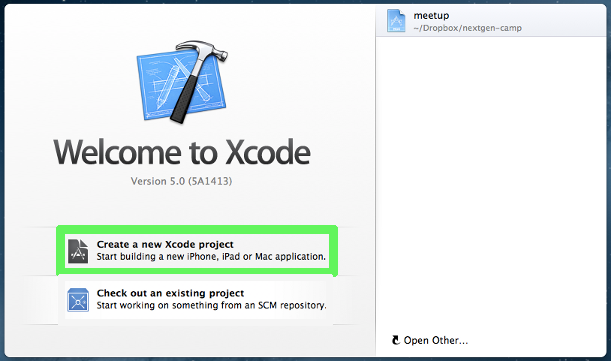
Open Xcode and select Create a new Xcode project from the welcome screen.
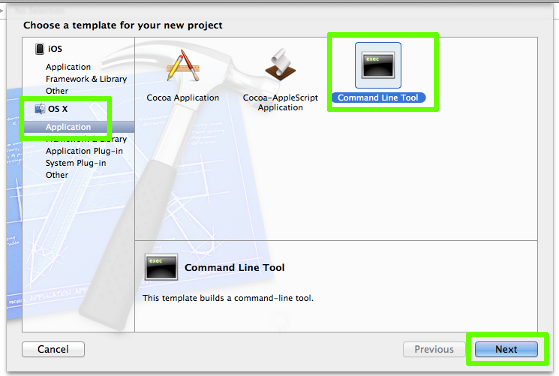
The template for your new project should be Command Line Tool, which is within OS X » Application.
On the next screen, you must enter a project name, and choose the type C++ from the drop-down. It may require a company identifier, you can just use
edu.liuornet.liucs.
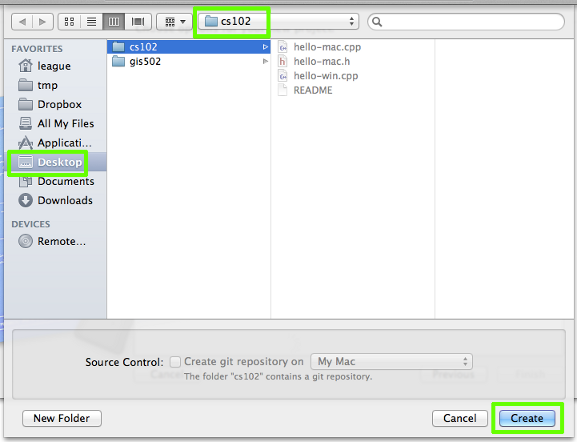
Next it asks where to store your project. You should choose someplace that’s easy to find outside of Xcode, such as your Desktop. Probably it’s helpful to create a fresh folder for cs102.
Now your project is created and open. There should be a file in the navigator on the left side called
main.cpp. Select that and you’ll see a “Hello world” type application. It looks slightly different than what we’ve been doing because they usestd::coutinstead ofusing namespace std;and there is some stuff between the parentheses ofint main(). But you can replace all that with any of the programs we have been developing, and they should work.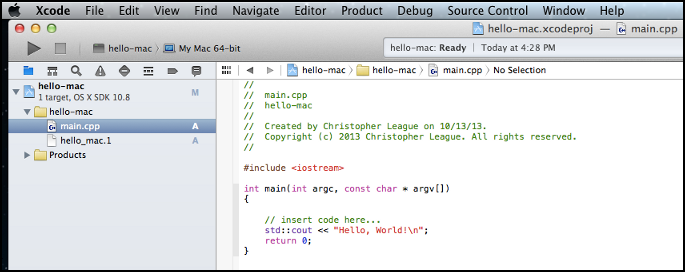
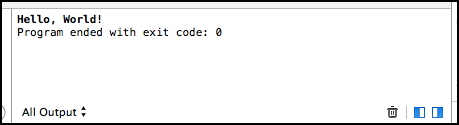
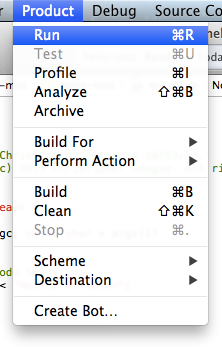
Select Product » Run from the menu, or press ⌘-R.
You’ll see the output of the program (and be able to interact with it, if it does input) in the lower right of your Xcode window.