Java SE downloads
This document describes the procedure to set up your Microsoft Windows computer for Java development and for submitting the course assignments using git.
The first step is to install the Java Software Development Kit (SDK). You may already have a Java Runtime Environment (JRE) if other applications on your system require it, but that is not enough. Unless you have programmed in Java on this system before, chances are you’ll need to install a JDK from scratch.
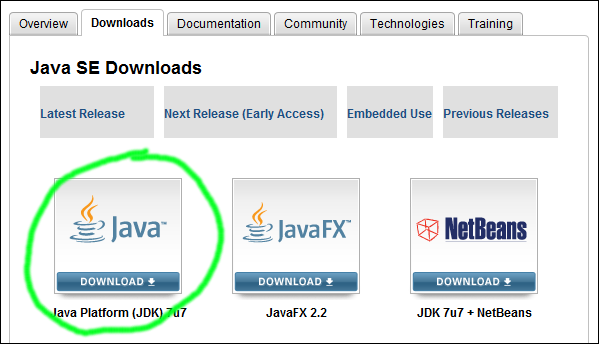
Start at this link: http://www.oracle.com/technetwork/java/javase/downloads/index.html where you will find a menu of Java SE (Standard Edition) downloads.
Java SE downloads
Choose Java Platform (JDK) – the latest version as I’m writing this is 7u7.
On the next page, you’ll need to accept the license agreement, and then you can find the .exe file for your platform, either Windows x86 (32-bit OS) or x64.
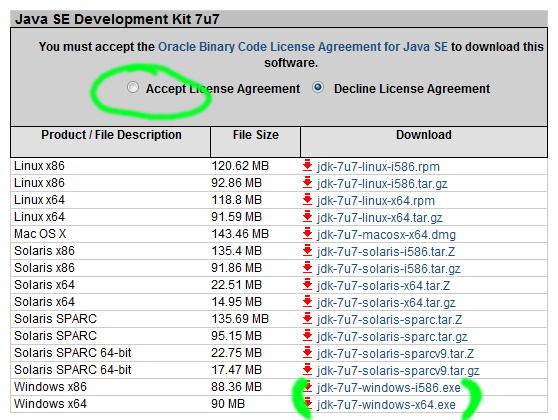
Java downloads per platform
How to determine if you are using 32- or 64-bit Windows: From the Windows start menu, choose Control Panel » System and Security » System, and look for the System type.
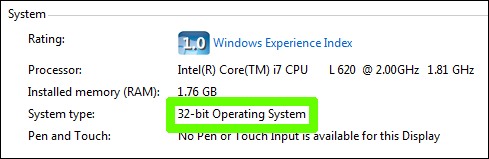
System type in the control panel
I usually recommend saving the installer and then running it, so that it’s easy to find in your Downloads folder if you get interrupted or need to reinstall.

Download prompts may look somewhat different, depending on your browser.
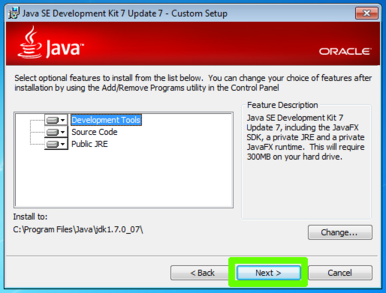
Go through the Oracle setup wizard; all the defaults are fine.

Allow Oracle to make changes
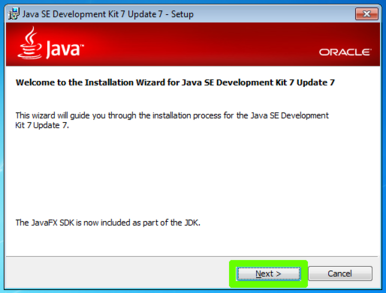
Oracle setup step 1
Oracle setup step 2
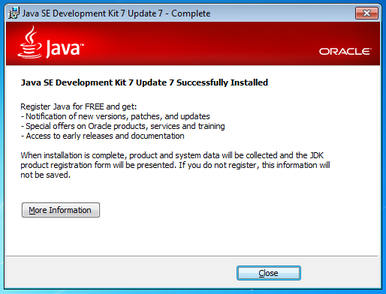
Oracle setup success
At this point you may be redirected to a web browser to register with Oracle. That is completely optional.
Git is a distributed version control tool used by many software developers. In this course, you will use it to submit your work. Using git, I can distribute recommended changes back to you, and my server will keep track of all versions of your work that it ever sees.
Git can be difficult to master, but I will provide recipes for the common cases we will encounter, and there is an interface for Git in IntelliJ, our development environment.
To get started, visit this link: http://git-scm.com/download/win and allow it to download the Git 1.7 installer.
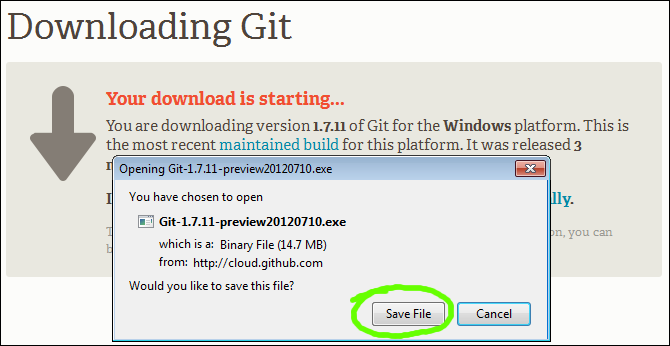
Download git
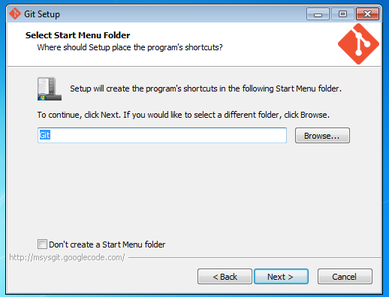
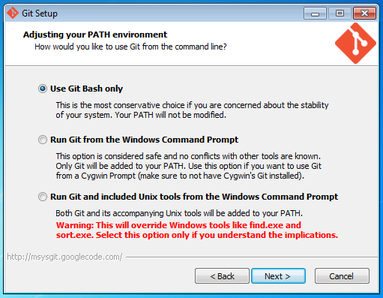
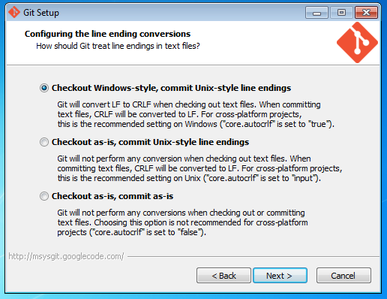
Run the installer. All the default settings should be okay, although you can make changes in step 4 if you prefer that installers don’t pollute your desktop and quick launch bar with rarely-used icons.
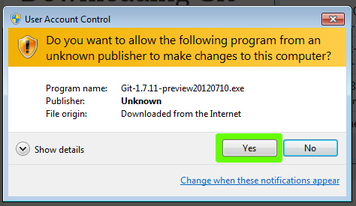
Allow git to make changes
Git setup step 1
Git setup step 2
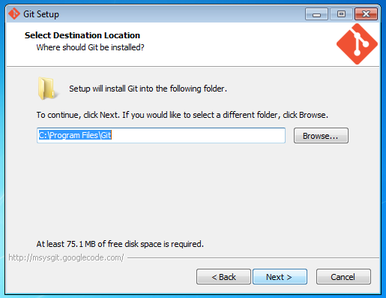
Git setup step 3
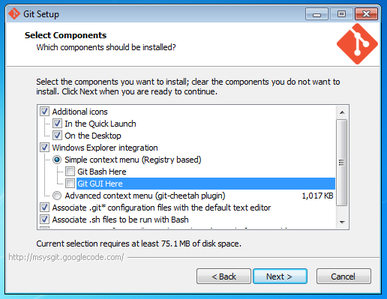
Git setup step 4
Git setup step 5
Git setup step 6
Git setup step 7
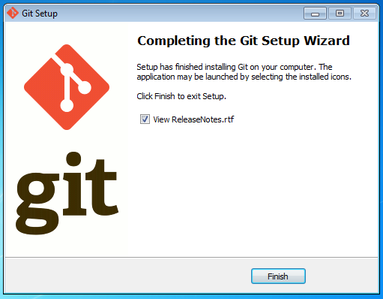
Git setup step 8
SSH is the secure shell program for connecting to remote servers. Git uses it to upload your assignments. We need a bit of configuration for this to work.
From the Windows start menu, select All Programs » Git » Git Bash. It will open a command line (terminal) window.
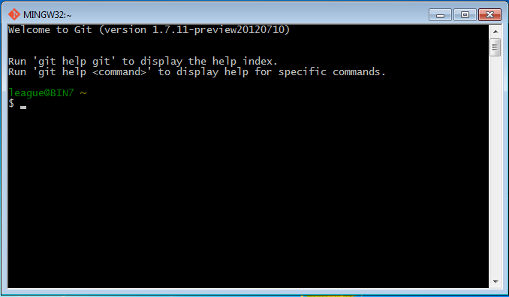
Git bash command line
At the bash prompt ($), type the following command and press enter:
ssh-keygenIt should produce output like the following. You will have to press enter three more times: once to use the default file name, and twice to enter an empty passphrase. Your fingerprint and ID will differ from mine, of course.

Output of ssh-keygen
Next, you need to create a configuration file for accessing my server. Enter this command at the bash prompt:
notepad .ssh/configIn the notepad window, type the following, on two separate lines:
host liucs.net
port 1010
Save the file (File menu » Save) and close notepad.
Finally, type the following command at the bash prompt:
notepad .ssh/id_rsa.pubThe notepad window will contain ssh-rsa followed by a long code. This is your public key. Select all (control-A), then copy (control-C), and paste the content into an email message to . Also include your full name and location in the email message. It’s fine if you prefer to use a non-LIU email account, but that means you consent to receiving further communication regarding the course at that account.
You may now close notepad and the git bash window.
We will use the JetBrains IntelliJ IDEA as an integrated development environment for Java – both in this course and in the Android project course. Download the free community edition here: http://www.jetbrains.com/idea/download/
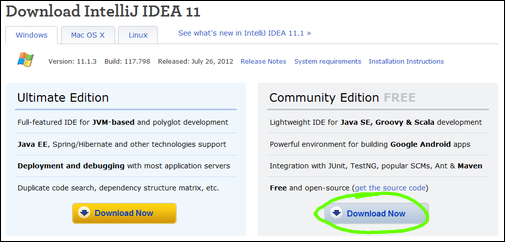
IntelliJ download page
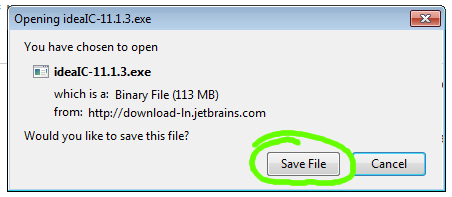
Save and then run the installer
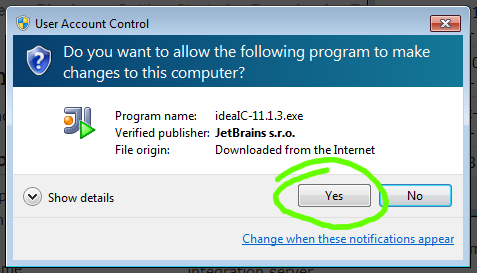
Allow IntelliJ to make changes
The defaults in the wizard are fine, although again you can make changes in step 3 if you prefer that installers don’t pollute your desktop with icons.
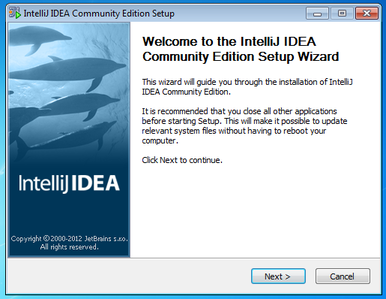
IntelliJ setup step 1
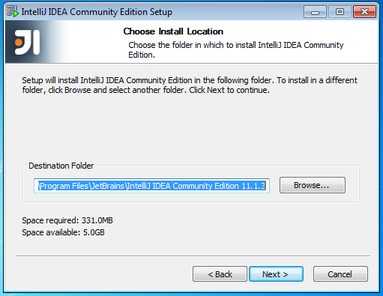
IntelliJ setup step 2
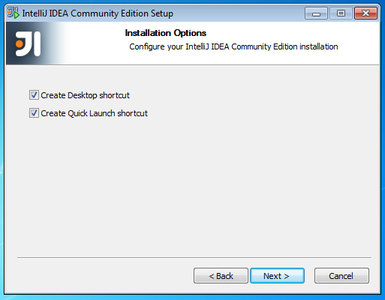
IntelliJ setup step 3
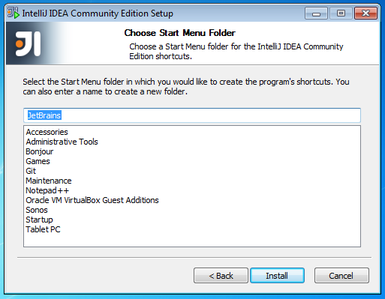
IntelliJ setup step 4
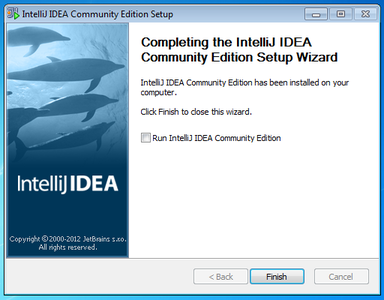
IntelliJ setup step 5
Start the IntelliJ IDEA from the Windows start menu » All Programs » Jet Brains, or use the desktop icon.
IntelliJ desktop icon
It may ask if you want to import previous settings, just accept the default.
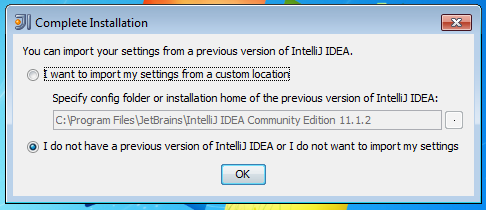
IntelliJ import settings
IntelliJ splash screen
Eventually, you will see the initial screen, with a ton of choices for getting started.
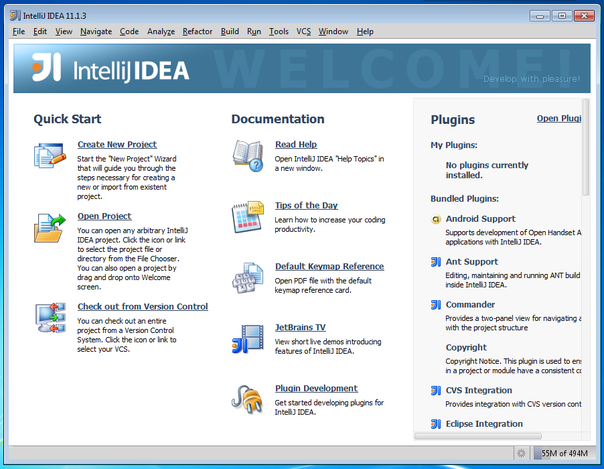
IntelliJ initial screen
First, we need to do some configuration. From the File menu, select Project Structure. In the Project SDK section, click the New button and select JSDK.
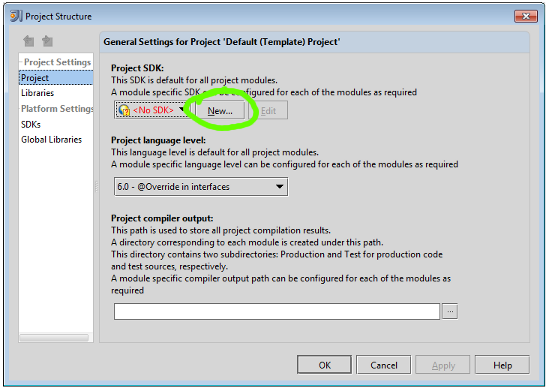
IntelliJ project structure
You’ll see a directory chooser, in which you must navigate to Program Files » Java » jdk1.7.0_07.
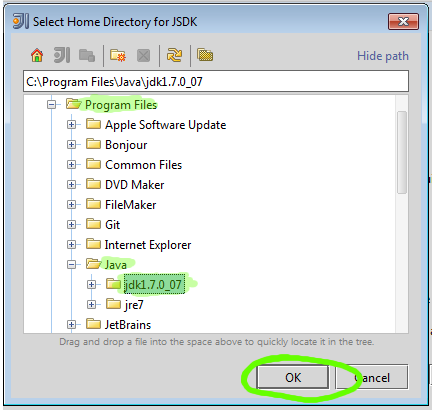
IntelliJ JDK chooser
Once that is selected, click OK on the chooser. The Project SDK should now show version 1.7, and you can click OK again to apply the settings.
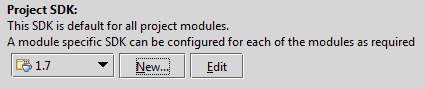
IntelliJ project SDK configured
The other bit of configuration is to tell IntelliJ about git. Choose File » Settings from the menu. Within that dialog, look for Template Project Settings (the first section) » Version Control » Git.
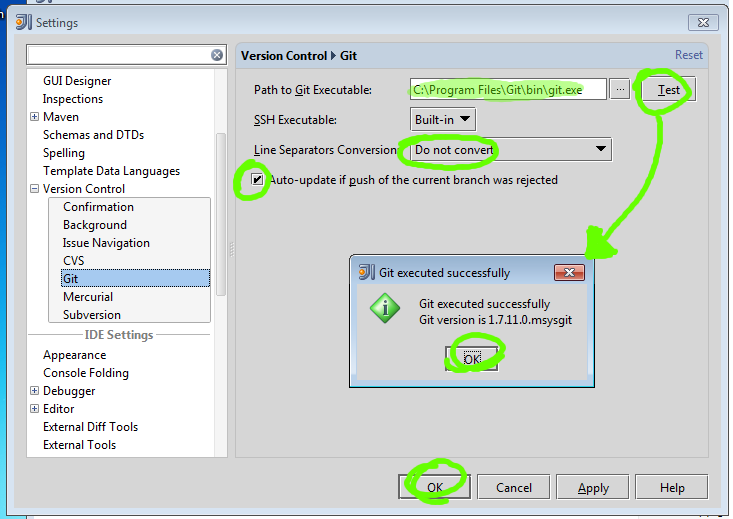
IntelliJ git settings
The executable path is probably already set, but if it isn’t, use the ‘…’ button to navigate to Program Files » Git » bin » git.exe. It’s fine to leave the SSH executable as built-in, but I suggest “do not convert” for line separators, and also enable the auto-update option. The ‘Test’ button should report that it found the right version of git. Click OK to save the settings.
Congratulations! Your machine is fully configured for Java development and assignment submission. After you receive a reply from me to the message containing your SSH public key, you may move on to Assignment Zero.