Milestone 1
Due at 1am
Set up your tools
Install VirtualBox 4
We will use virtual machine software for this course. This allows us to have a consistent environment across all operating systems. I have already configured a VM image with all the software we’ll need for this course.
Download my VM image (about 780 MiB) from
https://s3.amazonaws.com/liucs.net/Debian-Fall-12.ovaDownload VirtualBox for your host OS (Windows or OS X Mac) from
https://www.virtualbox.org/wiki/DownloadsInstall VirtualBox. If the installer gives you any trouble, try rebooting.
Run the VirtualBox application. You may just cancel the registration form.
Configure & boot the VM
From the File menu, select Import Appliance. Push the Choose button, navigate to your
Downloadsfolder, and select theDebian-Fall-12.ovafile that you downloaded.Click Next, then Finish. The import process can take some time. Once it has finished, you can delete the
.ovafile, and the VirtualBox installer.Now you should have a Debian “Fall 12” Linux VM in the left panel of VirtualBox. Before you start it, select it and click the Settings button on the tool bar. In the System section, you may have to reduce the base memory of the virtual machine. It should be no more than 75% of the memory of the host machine. For example, if you have 2G RAM, set the VM base memory to 1024MB (1G). If you have only 1G RAM, set the VM base memory to just below 768M.
Apply the settings and start the Linux VM. You may have to dismiss a dialog about capturing the keyboard or mouse; these things should resolve themselves once the VM is running. You should see the Debian start-up screen on a black background, wait a few seconds and then it will proceed with booting.
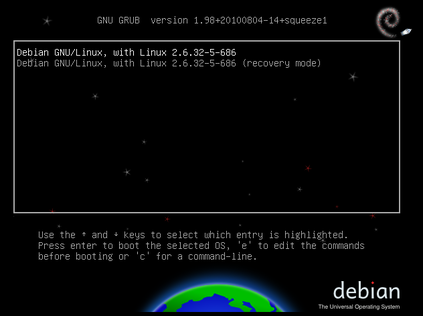
Debian boot screen
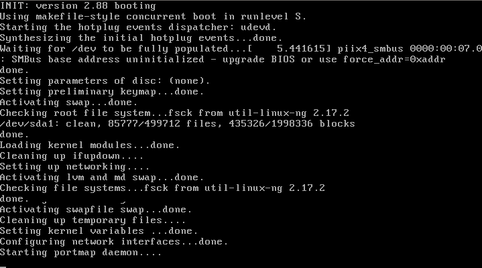
Debian boot process
Once the system finishes booting, the login screen should appear. Enter the following user credentials (passwords and user names are case-sensitive):
Username: liucs
Password: LIUcs!@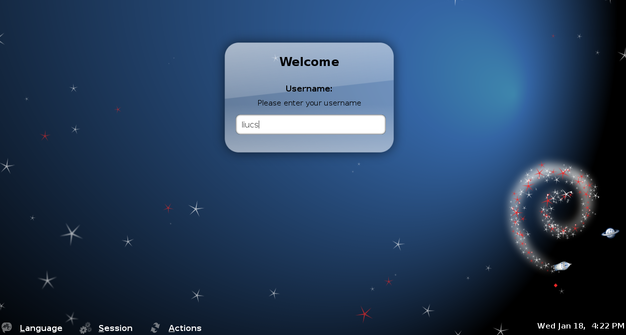
Debian login screen
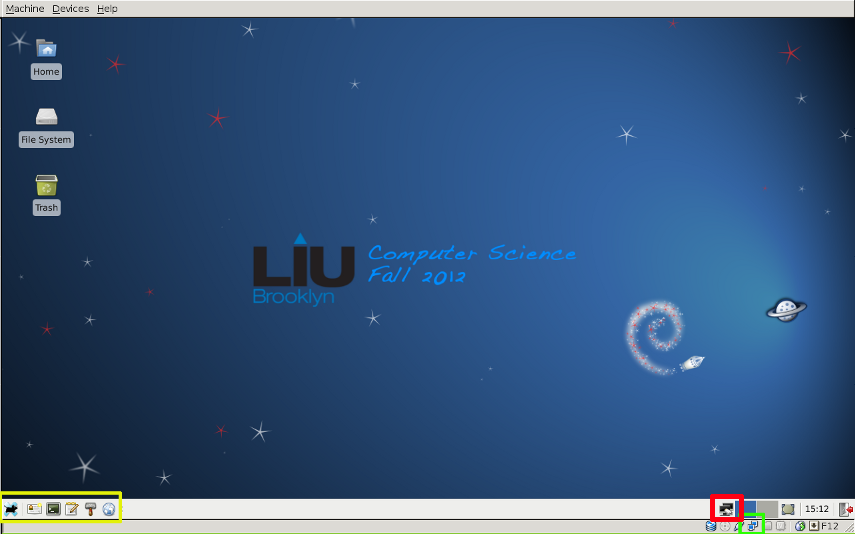
After a successful login, you should see the Debian desktop. The buttons across the lower left (highlighted yellow in the image below) are an application menu, account-setup tool, terminal, editor, file manager, and web browser.
Debian desktop
If your screen has scroll bars or is too small, you can try to select Auto-resize Guest Display from the Machine menu at the top. Your Debian desktop should match the size of the VM window in which it appears.
Make sure that networking works by using the browser (within the VM, not on the host!) to do a Google search. If the network seems to be down (but is working on your physical host machine) then you may have to look for the VirtualBox networking setting (right-click on the two-screen icon in the lower right, highlighted green above) and change it from NAT to Bridged. Sometimes it can also help to right-click the Linux network icon (highlighted red above) and reconnect to the wired network. (Even if your host machine’s connection is wireless, it will show up to the virtual machine as wired.)
Set up your account
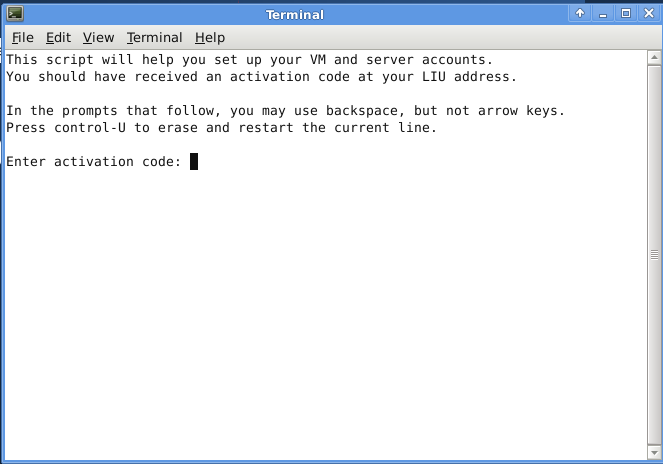
You should have received an activation code by email to your LIU address. Find that, and then click the “Set up account” button next to the menu in the lower left. It should open up a terminal like this:
Set up account
Type in your activation code, and follow the other prompts. The entire process should go something like this:
This script will help you set up your VM and server accounts.
You should have received an activation code at your LIU address.

In the prompts that follow, you may use backspace, but not arrow keys.
Press control-U to erase and restart the current line.

Enter activation code: 0123-4567-89ab-cdef   ## (sample)

Enter your email address (does not need to be LIU): league@acm.org

Fetching key...
OK

Enter your full name: Chris League

1. Storing your SSH private key
2. Writing git config
3. Writing SSH config
4. Cloning your repositories

> git clone liucs.net:cs162-leaguec.git cs162
Cloning into cs162...
remote: Counting objects: 518, done.
remote: Compressing objects: 100% (499/499), done.
remote: Total 518 (delta 218), reused 0 (delta 0)
Receiving objects: 100% (518/518), 5.60 MiB | 704 KiB/s, done.
Resolving deltas: 100% (218/218), done.

Success! Your account name is: leaguec
Press enter to close this window.
Open up the File Manager application. In your home folder, you should see a new folder called
cs162. (I have other folders in my account due to other courses I’m teaching.)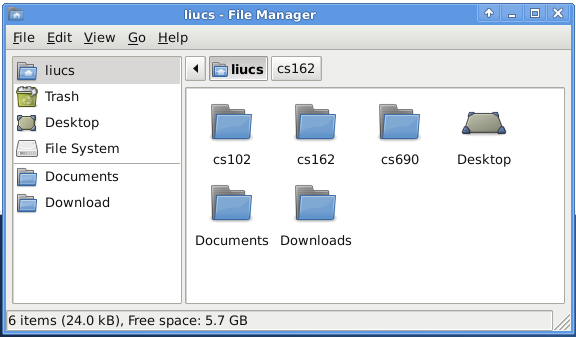
Home folder
Descend into
cs162and find theREADMEfile there. Double-click it to open it with the editor application called “gedit.”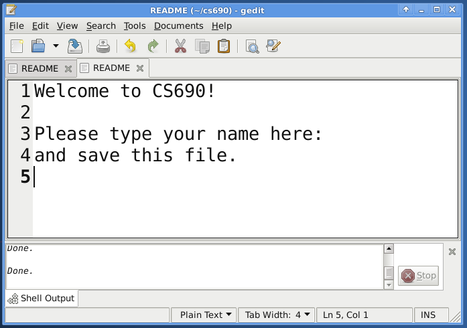
The README file in gedit
Type your name where indicated in the file, and then save it (Control-S). Next we will try to synchronize the file with the server. In the future, this is how you will submit your assignments and receive code and other resources from me.
In the gedit Tools menu, under External Tools, select “Sync with git,” or press Shift-F9. In the “Shell Output” pane at the bottom of gedit, you should see a transcript of the operation. It will look something like this, although the numbers will vary:
Running tool: Sync with git

Using ~/cs162/.git
> git-add
> git-commit
[master 90a5c61] sync
 1 files changed, 0 insertions(+), 2 deletions(-)
> git-pull
Already up-to-date.
> git-push
To liucs.net:cs162-student.git
   65446eb..90a5c61  master -> master

SUCCESS

Done.
The important part is that it ends with “SUCCESS.” If you see a different message, copy and paste the whole transcript in an email to me, so I can help you troubleshoot.
Check your email at the address you gave when setting up your account. You should receive a message from “git version control” containing a summary of the changes you made. Think of this email as your receipt!
Set up Django
Open a terminal (command prompt) window on your VM. Use the
cd(change directory) command to descend into the course directory, as shown below. The prompt tells you what directory you are currently in, where~stands for your home directory.liucs:~$ cd cs690 liucs:~/cs690$
Your VM has the Django Project pre-installed. To get started, type the following in your terminal:
liucs:~/cs690$ django-admin.py startproject bookswap
liucs:~/cs690$
The command will produce no output, unless there was an error. But now you have a new folder
bookswapunderneathcs690. You can explore it in the file manager if you like. It should look like this:bookswap/ ├── bookswap/ │ ├── __init__.py │ ├── settings.py │ ├── urls.py │ └── wsgi.py └── manage.py 1 directory, 5 filesWe’ll use the script
manage.pyto run all kinds of built-in programs to synchronize the database, start the server, etc. Thebookswap/sub-folder contains project-wide configuration settings.Now, in your terminal, descend into the (first)
bookswapfolder, and issue thechmodcommand as shown:liucs:~/cs690$ cd bookswap liucs:~/cs690/bookswap$ chmod +x manage.py
This will make the
manage.pyscript executable, and save us a little bit of typing every time we use it.Now you can use
manage.pyto run the server, as follows:liucs:~/cs690/bookswap$ ./manage.py runserver Validating models... 0 errors found Django version 1.4.1, using settings 'bookswap.settings' Development server is running at http://127.0.0.1:8000/ Quit the server with CONTROL-C.
Once it is running, open up the web browser on the VM (rightmost icon in the lower left) and enter
localhost:8000in the address bar. There may be a ‘localhost’ button on the bookmarks bar, as a shortcut.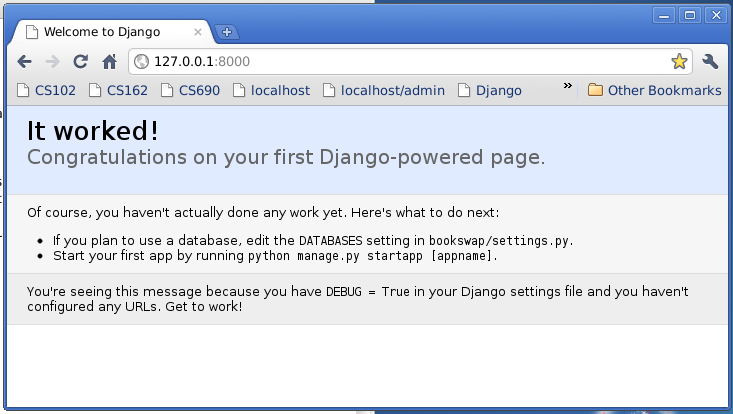
Django welcome page
We’ll come back to configuring your Django installation for the next milestone.
Python tutorial
Work your way through the Python tutorial and do the exercises at the end of each section. Create a file tutorial.txt in your cs690 folder and type or copy/paste the answers to each exercise there. As long as it is in the cs690 folder, this will be submitted along with the rest of your code.