Installation instructions
These instructions will help you set up VirtualBox and the debian-liucs virtual machine.
Install VirtualBox
If you already have VirtualBox on your computer, skip this section.
Otherwise, download VirtualBox for your host OS (Windows or OS X Mac) from
https://www.virtualbox.org/wiki/DownloadsRun the installer. If it gives you any trouble, try rebooting.
Import VM image
Download my VM image (about 460 MB) from
http://d2he78l8f4fi4u.cloudfront.net/debian-liucs.ovaRun the VirtualBox application. If it presents a registration form, you can just hit cancel.
From the File menu, select Import Appliance. Push the Choose button, navigate to your
Downloadsfolder, and select thedebian-liucs.ovafile that you downloaded.Click Next, then Finish. The import process can take some time. Once it has finished, you can delete the
.ovafile, and the VirtualBox installer.Now you should have a “debian-liucs” Linux VM in the left panel of VirtualBox.

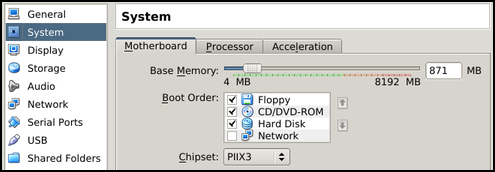
Before you start it, select it and click the Settings button on the tool bar. In the System section, you may have to reduce the base memory of the virtual machine. It should be no more than 75% of the memory of the host machine. For example, if you have 2G RAM, set the VM base memory to 1024 MB (1G). If you have only 1G RAM, set the VM base memory to just below 768 MB.
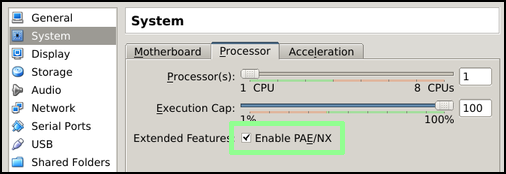
Then, under the Processor tab (still in the System section), you may need to Enable PAE/NX.
Apply the settings and start the Linux VM. You may have to dismiss a dialog about capturing the keyboard or mouse; these things should resolve themselves once the VM is configured. Until then, if you need to switch to another application, you may need to press the “host key” (usually the right shift key) first.
You should see the start-up screen in blue on a black background. Wait a few seconds and then it will proceed with booting.
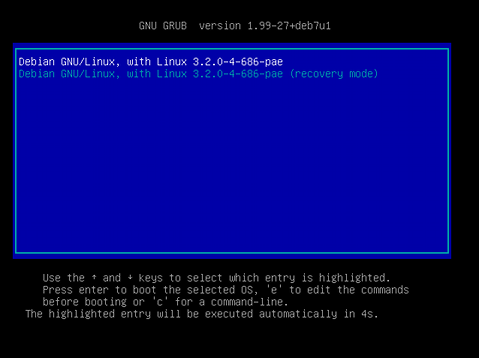
The start-up screen
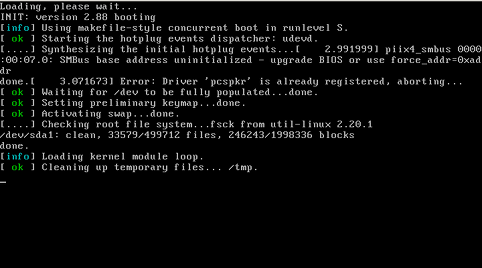
The boot process
Log in and update software
When the boot process finishes, it will clear the screen and display a login prompt like the following:
Debian GNU/Linux 7.0 liucs tty1

liucs login:
Type the login name
liucs, press enter, and then type the passwordliucs.Note: When you type a password, the system will not echo back asterisks or dots. Just continue typing and press enter.The system should display a welcome message like the following. That last line, that ends with a dollar sign, is your prompt.
Linux liucs 3.2.0-4-686-pae #1 SMP Debian 3.2.41-2+deb7u2 i686

The programs included with the Debian GNU/Linux system are free software;
the exact distribution terms for each program are described in the
individual files in /usr/share/doc/*/copyright.

Debian GNU/Linux comes with ABSOLUTELY NO WARRANTY, to the extent
permitted by applicable law.
liucs@liucs:~$ _
At the prompt, type the following command and press enter:
sudo apt-get updateThe system will ask for your password again:
[sudo] Password for liucs:Type
liucsand press enter.Note: The commandsudomeans “do the following as the super-user (aka administrator).” You want to be very careful that you get the command right; sometimes one character makes a difference between correct operation and disabling the system!The system will work for a little while, downloading release information. It should look something like this:
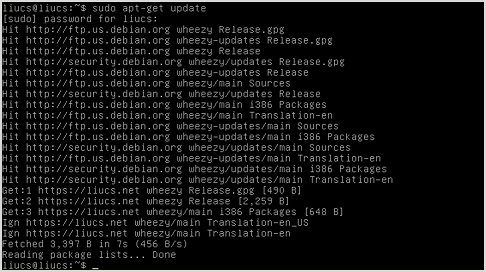
When you see the prompt again, it’s time to install the updated software packages. Type the command below and press enter:
Note: In your course instructions, I should have given you a package name to use, such asliucs-cs102orliucs-cs690. Use that package in place ofliucs-YOURCOURSEbelow.sudo apt-get install liucs-YOURCOURSEThe system will list a bunch of additional package names, and say something like:
0 upgraded, 165 newly installed, 0 to remove and 0 not upgraded.
Need to get 114 MB of archives.
After this operation, 345 MB of additional disk space will be used.
Do you want to continue [Y/n]?
You can just press enter to continue. It should download several additional files, and go through unpacking and configuration.
Depending on your course, the system might ask a few additional questions. If so, refer to the following instructions. Otherwise, move on to the next step.
New password for the MySQL “root” user:
Choose a password, and press enter. This time it will echo back asterisks as you type. You’ll have to enter the same password again on the next screen.
Note: I recommend writing down your MySQL root password; you’ll need it later.
When the install finally finishes, type the following command at the prompt:
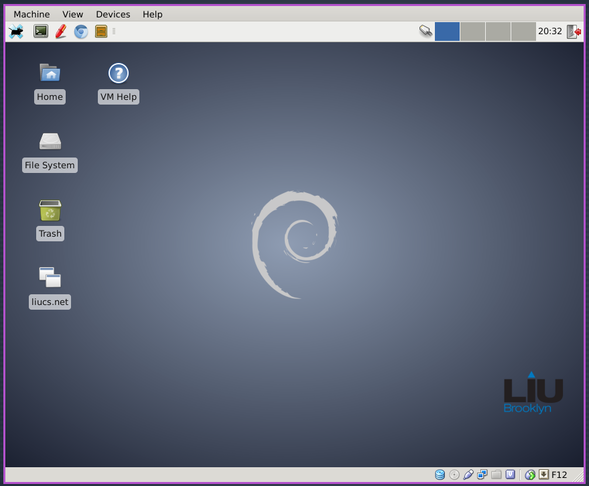
sudo rebootThe system will go through the same boot sequence as before, but this time – if everything worked! – it should eventually open up into a graphical desktop, as shown below.