Hello World app
Create new project
From the Android Studio welcome screen, select New Project.
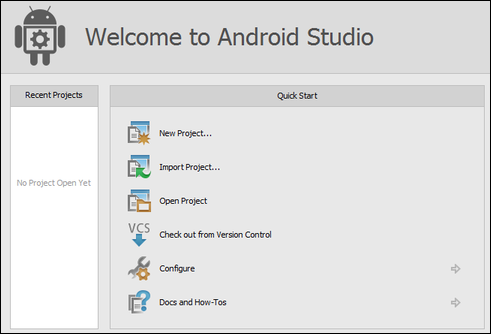
Welcome to Android Studio
There is a four-step wizard with project settings, but for now you can accept all the defaults. If you want to play a bit, you could change com.example.app on the first page to a different reverse-domain identifier, like edu.liu.app or net.liucs.app. You also could play with your app’s icon in step 2.
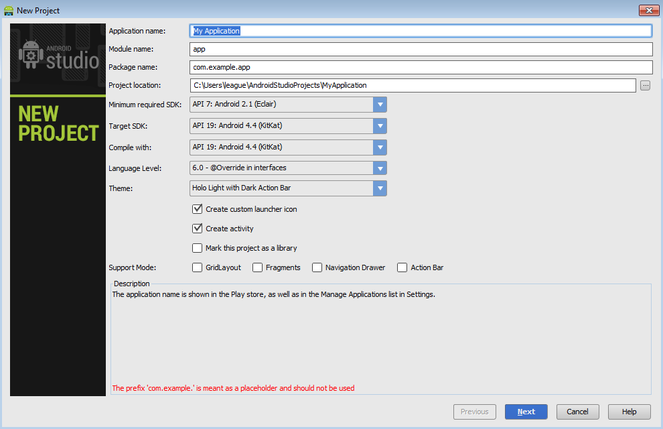
New Project step 1
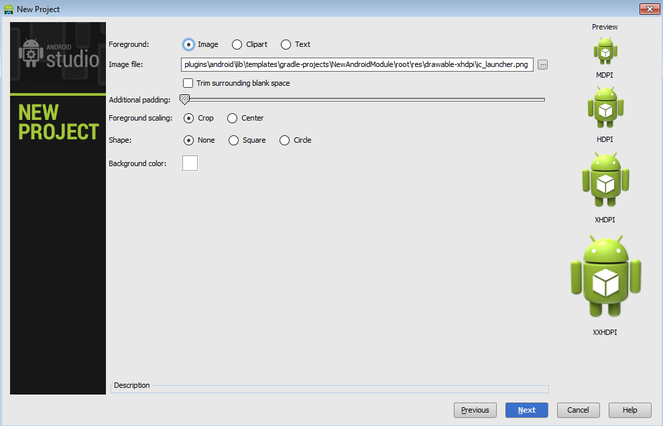
New Project step 2
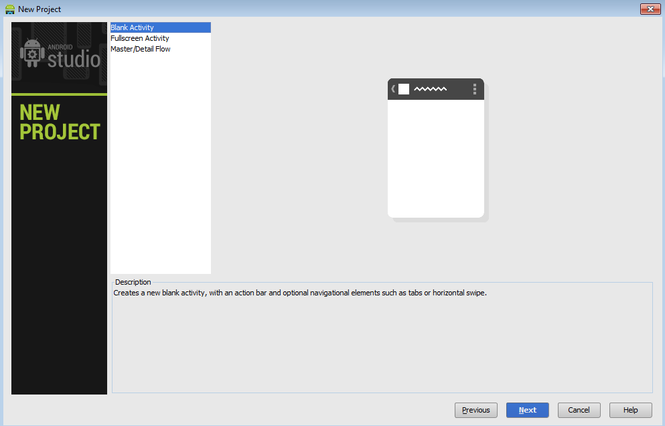
New Project step 3
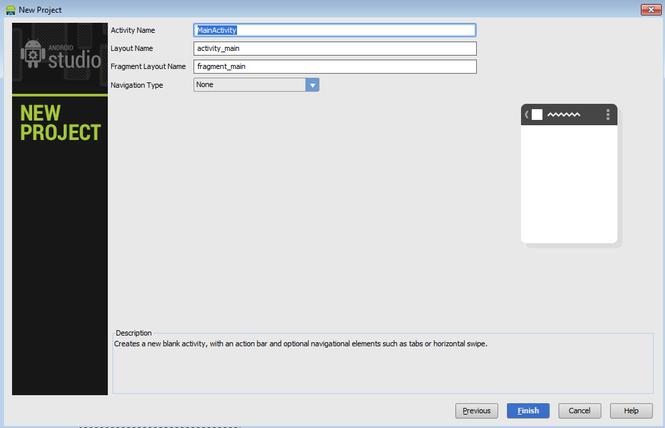
New Project step 4
Once the new project setup is finished, it will take some time for Studio to initialize itself. You can open up the folders and files in the Project explorer along the left side.
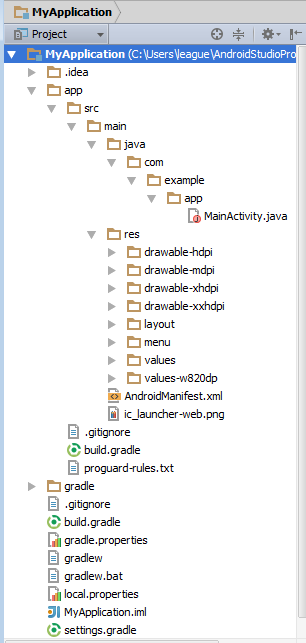
Project explorer
In this screen, I am showing that your Java code is in app/src/main/java/, followed by the reverse-domain you specified in step 1 (com/example/app/ here). You should also have a look at the Android resource files in app/src/main/res/.
Open app/src/main/res/layout/fragment_main.xml, so it appears in an editor within Android Studio. Its content should be something like the following, but you should also see a Preview pane appear. (It may take a good while to initialize.)
<RelativeLayout xmlns:android="http://schemas.android.com/apk/res/android"
    xmlns:tools="http://schemas.android.com/tools"
    android:layout_width="match_parent"
    android:layout_height="match_parent"
    android:paddingLeft="@dimen/activity_horizontal_margin"
    android:paddingRight="@dimen/activity_horizontal_margin"
    android:paddingTop="@dimen/activity_vertical_margin"
    android:paddingBottom="@dimen/activity_vertical_margin"
    tools:context="com.example.app.MainActivity$PlaceholderFragment">
    <TextView
        android:text="@string/hello_world"
        android:layout_width="wrap_content"
        android:layout_height="wrap_content" />
</RelativeLayout>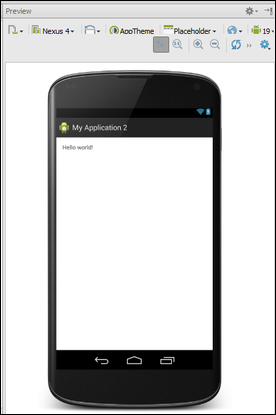
Preview of “Hello World” fragment layout
In the XML file, within the TextView tag, you should see a reference to the text @string/hello_world. This includes a “string resource,” which permits looking up the user’s preferred language at runtime.
The strings for the default language are in app/src/main/res/values/strings.xml, so open that now too.
<?xml version="1.0" encoding="utf-8"?>
<resources>
    <string name="app_name">My Application</string>
    <string name="hello_world">Hello world!</string>
    <string name="action_settings">Settings</string>
</resources>
You can change the content of the string tag with name hello_world to greet you more personally by name:
<string name="hello_world">Have a droidy day, Chris!</string>When you switch back to fragment_main.xml, there is a refresh button that will update the preview.
Create Android Virtual Device
Now we’re going to create an Android Virtual Device so that we can run our app in an emulator on your computer. Look for the AVD Manager button in the toolbar of Android Studio.
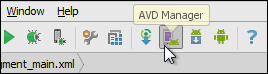
AVD Manager button
It should open up the Android Device Manager.
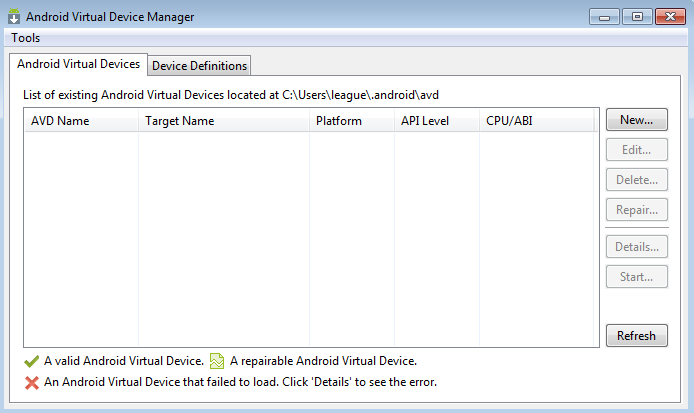
Android Virtual Devices
You can use the New… button to create a new virtual device.
Give the AVD a name like myphone. Select a smallish device for now, like the Nexus One. Set target to Android 4.4.2 (or whatever is the latest) – but for now, not the Google APIs. For CPU, I recommend Intel Atom unless ARM is the only one enabled. (We may be able to accelerate the performance of the Intel later on.) Leave everything else as the default, but definitely turn on the Snapshot option and hit OK.
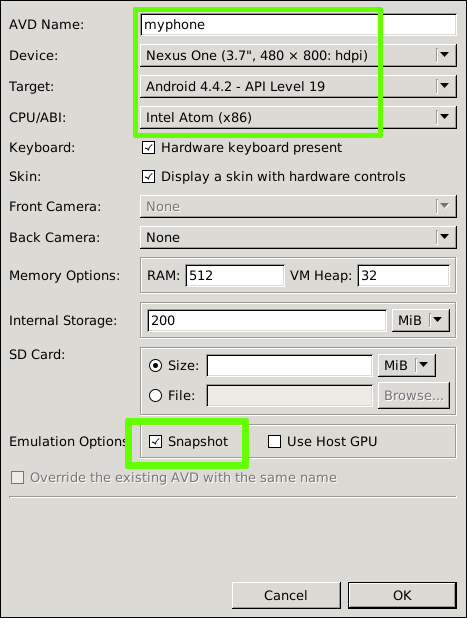
New AVD settings
The AVD manager will respond with a result dialog, just dismiss it with OK. Now you can see your new AVD in the manager. Select it and hit Start.
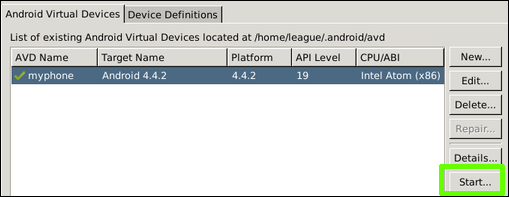
Start your AVD
First the AVD manager will confirm some settings; you can usually leave these alone and hit Launch. Then there’s a progress bar, but eventually a simulated phone screen should appear. It will eventually show an Android logo splash as it initializes – but this will take quite some time.

Booting Android in the emulator
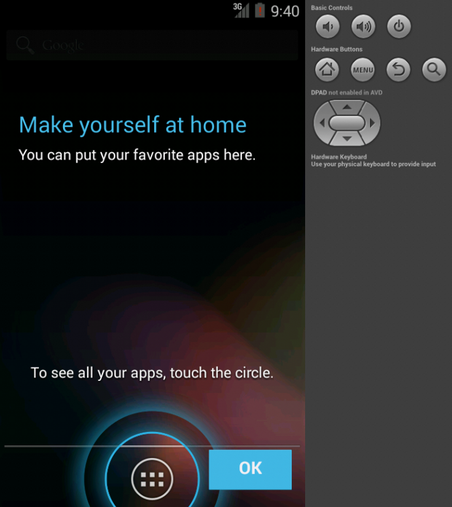
Android ready to use in the emulator
Run your app in the AVD (emulator)
Back in Android Studio, select Run » Edit Configurations… from the menu. We want to ensure that there’s an Android Application configuration for your app module, and that Show Chooser Dialog is selected.
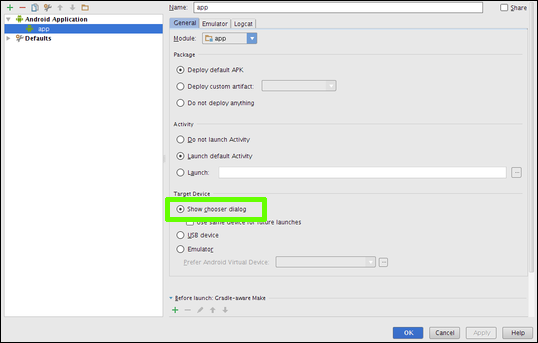
Show Chooser Dialog in Run Configurations
If it looks okay, you can do Run » Run app or the green play button. Assuming your AVD is still running, you should see it appear in the chooser.
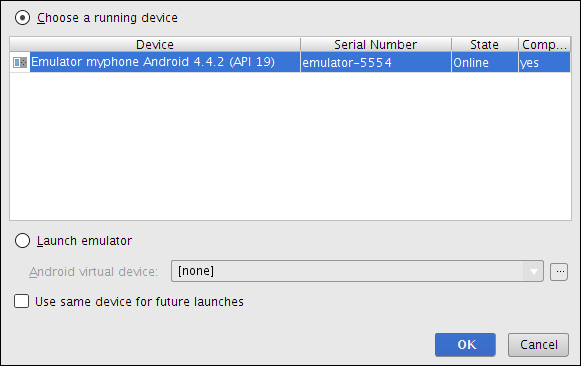
Device chooser
Press OK and then the app should (eventually) open in your emulator! You’ll see some of this text in the output pane of Studio while you’re waiting:
Waiting for device.
Target device: myphone [emulator-5554]
Uploading file
    local path: /home/league/p/coursera-android/league/MyApplication2/app/build/apk/app-debug-unaligned.apk
    remote path: /data/local/tmp/com.example.app
Installing com.example.app
DEVICE SHELL COMMAND: pm install -r "/data/local/tmp/com.example.app"
pkg: /data/local/tmp/com.example.app
Success

Launching application: com.example.app/com.example.app.MainActivity.
DEVICE SHELL COMMAND: am start -n "com.example.app/com.example.app.MainActivity" -a android.intent.action.MAIN -c android.intent.category.LAUNCHER
Starting: Intent { act=android.intent.action.MAIN cat=[android.intent.category.LAUNCHER] cmp=com.example.app/.MainActivity }
It’s the “Starting: Intent” that tells you it’s about to work.
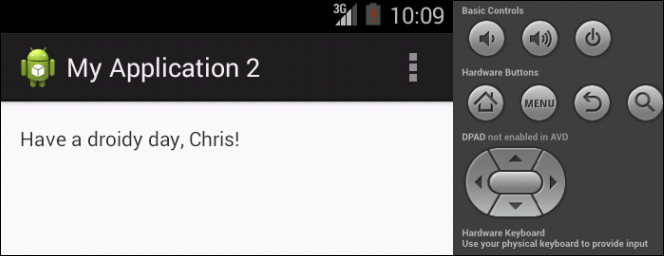
Hello World in the emulator
Run your app on a hardware device
Devices differ, so we’ll have to work on this in class. If you don’t have an Android device, I can plug in my tablet or phone so you can see your app run that way.