Software Setup – Mac
This document describes the procedure to set up your computer for Android development.
Install Android Studio
Android Studio is the cutting-edge Integrated Development Environment for Android apps. Previously, the IDE was based on Eclipse; now it is based on IntelliJ. Although still in active development, I believe Studio is stable and useful enough to be a good choice.
Go here to download the zip file for your platform: http://tools.android.com/download/studio/canary/latest – at the time I’m writing this, the latest is 0.4.3.
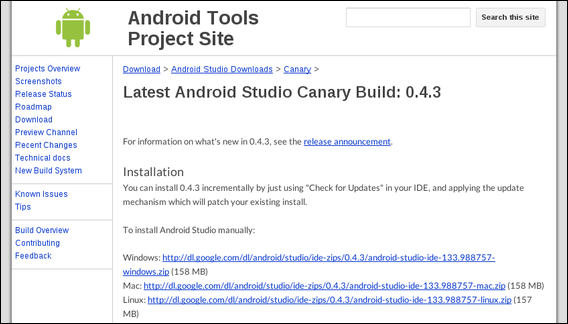
Get the latest zip for your platform
When you unzip the Mac version, it will produce an Application file. Double-click it to open. It probably will say you need Java SE 6. Go ahead and let it Install that.
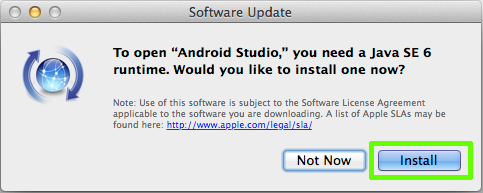
Install Java SE 6, as needed
Install Android SDK
Start at http://developer.android.com/sdk/ but skip the “ADT Bundle” link – that’s intended for Eclipse users. Instead, look for where it says “Use an existing IDE,” and download the SDK Tools for Windows.
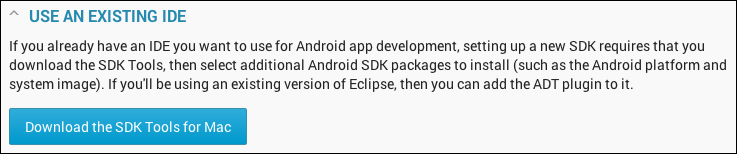
Use an existing IDE
You may have to accept another license agreement. Then it will download the latest Android SDK, which at the time I’m writing this is revision 22.3.

Agree with the license
When you double-click to extract the zip file, it will create a folder android-sdk-macosx. Look inside that folder for the tools » android program, and double-click it.
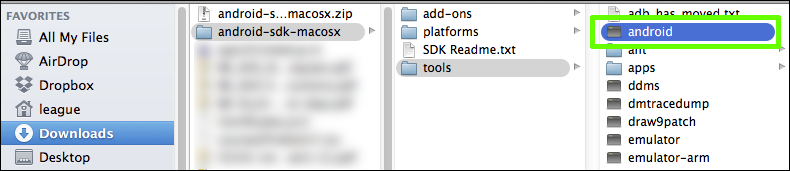
The unzipped android-sdk-macosx folder
You may get a warning about this being from an unidentified developer.
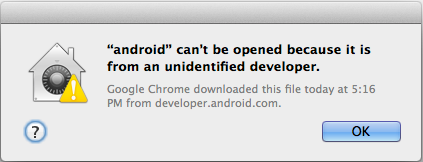
Unidentified developer warning
If so, you’ll have to go into your System Preferences » Security & Privacy and enable such software.
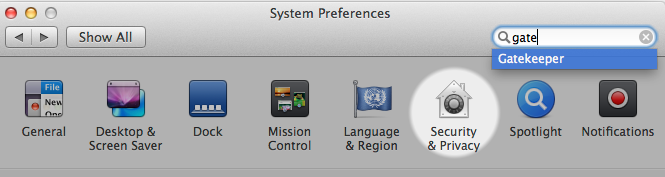
System Preferences » Security & Privacy
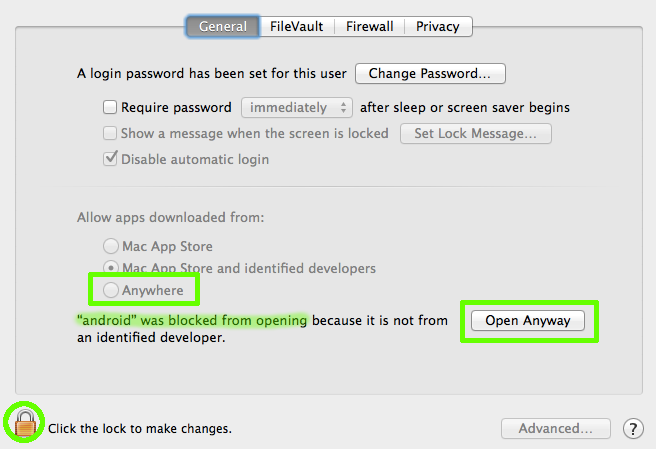
Allow android program to run
Once the android program has started, there should be a window called the Android SDK Manager. It will pre-select some default packages and versions.
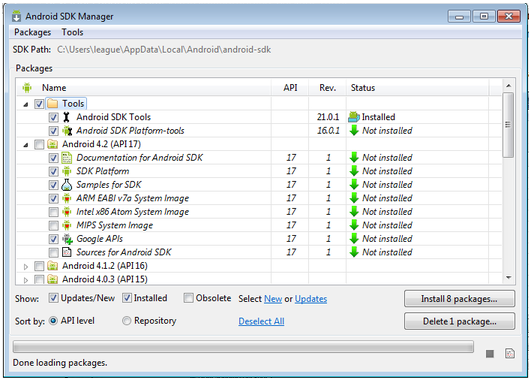
Android SDK package selections
Another package you will need to add right away is near the bottom, under “Extras,” called “Android Support Repository.”
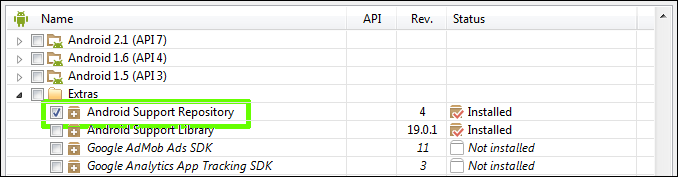
Select Extras » Android Support Repository
With all those selected, hit the button in the lower right that says “Install N packages…” Accept the license agreements, and then wait for those downloads to finish.
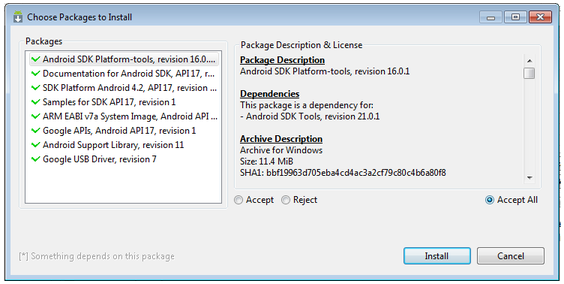
Accept each license
Once the downloads finish, you can close the Android SDK Manager.
Configure Android Studio
If it is not already open, double-click the Android Studio application from where you unzipped it. As it starts, Android Studio will offer to import settings; I recommend not to.
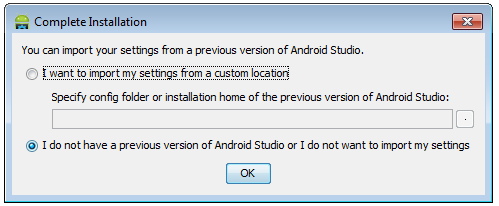
Don’t import settings

Android Studio splash screen
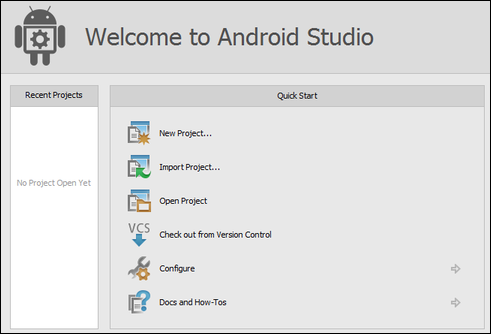
Welcome to Android Studio
Once you see this Welcome screen, select Configure » Project Defaults » Project Structure. In the section for the Project SDK, click New and select Android SDK.
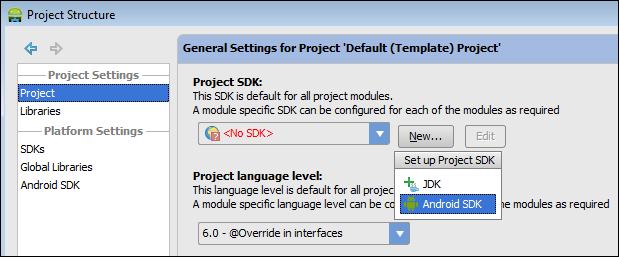
Configure new Android SDK
Then you’ll have to specify the path where your Android SDK was unzipped. Mine was:
/Users/league/Downloads/android-sdk-macosx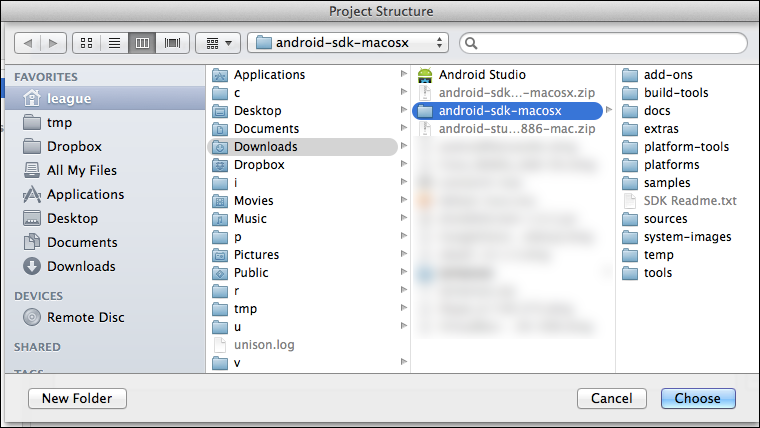
Specify your SDK path
Studio will then confirm the versions that it found.
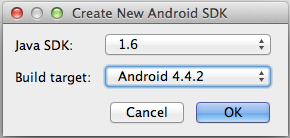
Confirm the SDK versions
Back out to the main welcome screen. Now you should be ready to create the Hello World app.