Software Setup – Windows
This document describes the procedure to set up your computer for Android development.
Install Java SDK
The first step is to install the Java Software Development Kit (SDK). You may already have a Java Runtime Environment (JRE) if other applications on your system require it, but that is not enough. Unless you have programmed in Java on this system before, chances are you’ll need to install a JDK from scratch.
Start at this link: http://www.oracle.com/technetwork/java/javase/downloads/index.html where you will find a menu of Java SE (Standard Edition) downloads.
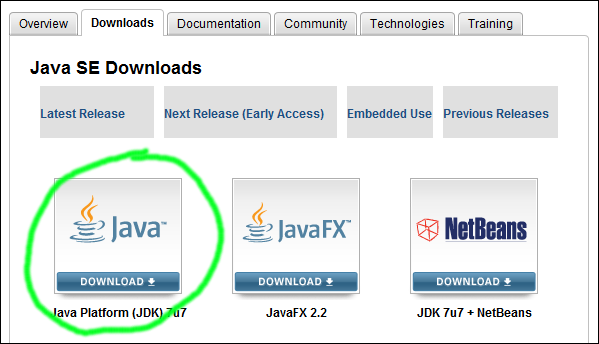
Java SE downloads
Choose Java Platform (JDK) – the latest version as I’m writing this is 7u51.
On the next page, you’ll need to accept the license agreement, and then you can find the .exe file for your platform, either Windows x86 (32-bit OS) or x64 (64-bit).
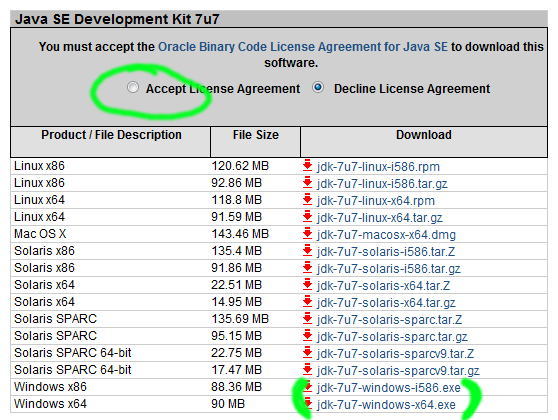
Java downloads per platform
How to determine if you are using 32- or 64-bit Windows: From the Windows start menu, choose Control Panel » System and Security » System, and look for the System type.
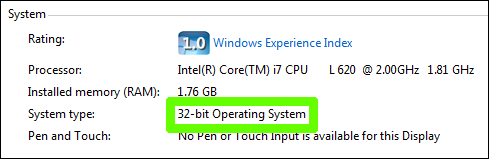
System type in the control panel
I usually recommend saving the installer and then running it, so that it’s easy to find in your Downloads folder if you get interrupted or need to reinstall.

Download prompts may look somewhat different, depending on your browser.
Go through the Oracle setup wizard; all the defaults are fine.
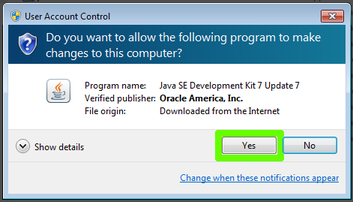
Allow Oracle to make changes
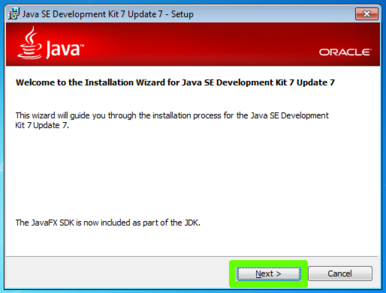
Oracle setup step 1
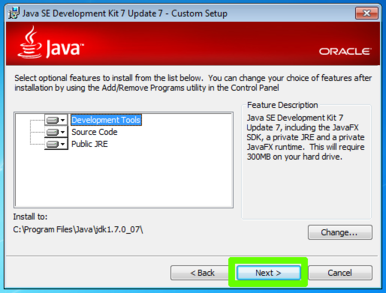
Oracle setup step 2
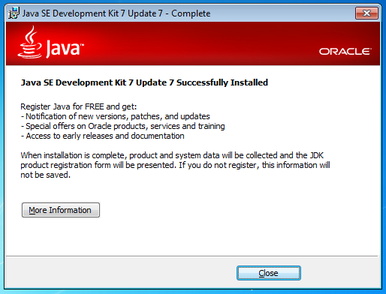
Oracle setup success
At this point you may be redirected to a web browser to register with Oracle. That is completely optional.
Install Android SDK
Start at http://developer.android.com/sdk/ but skip the “ADT Bundle” link – that’s intended for Eclipse users. Instead, look for where it says “Use an existing IDE,” and download the SDK Tools for Windows.
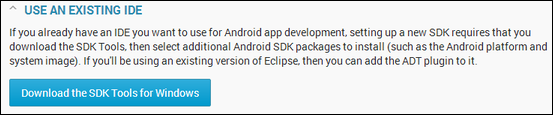
Use an existing IDE
You may have to accept another license agreement. Then it will download the latest Android SDK, which at the time I’m writing this is revision 22.3.
Run the install after the download finishes, and work through the wizard.
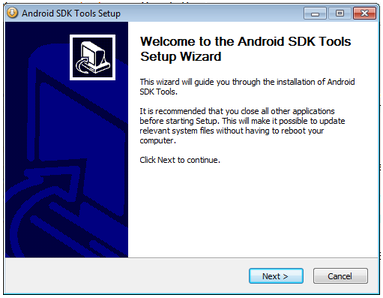
Android setup step 1
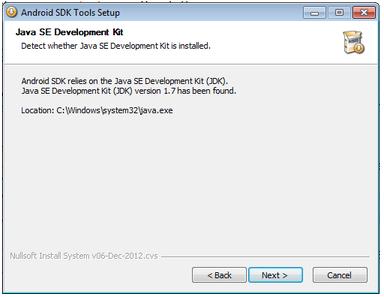
Android setup step 2
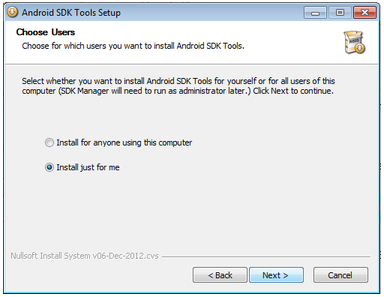
Android setup step 3
Pay attention here, at step 4. You can leave this as the default, or move it to Program Files if you prefer, but you will need to make a note of this path, so we can tell Android Studio about it later:
C:\Users\league\AppData\Local\Android\android-sdk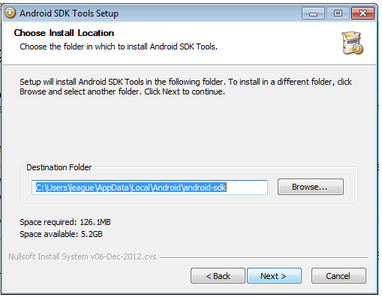
Android setup step 4
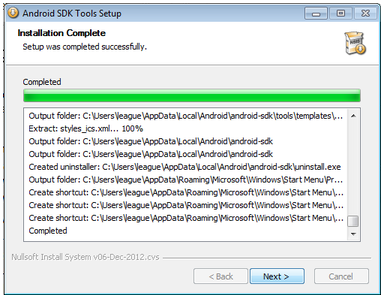
Android setup step 5
Android setup step 6
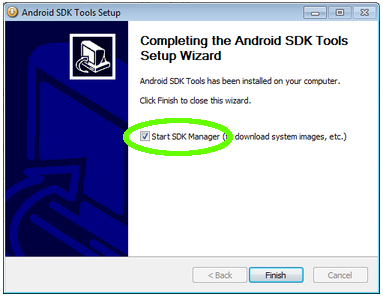
Once the setup finishes, allow it to launch the SDK Manager. It will have pre-selected some default packages and versions.
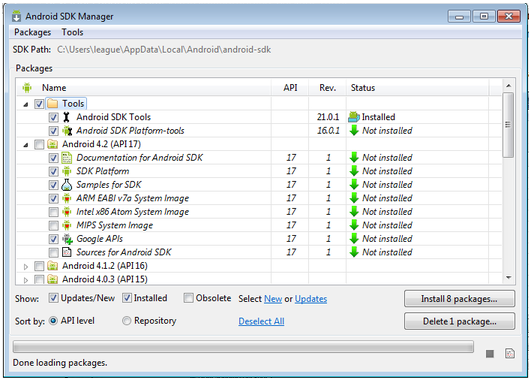
Android SDK package selections
Another package you will need to add right away is near the bottom, under “Extras,” called “Android Support Repository.”
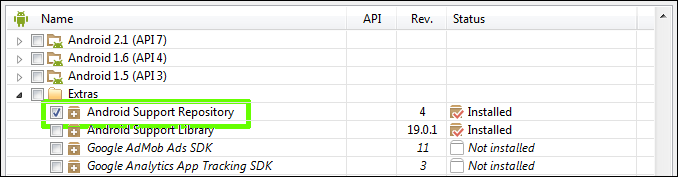
Select Extras » Android Support Repository
With all those selected, hit the button in the lower right that says “Install N packages…” Accept the license agreements, and then wait for those downloads to finish.
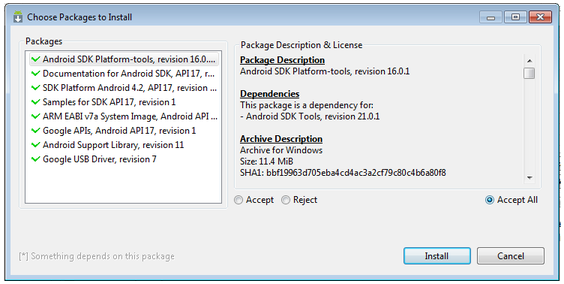
Accept each license
Once the downloads finish, you can close the Android SDK Manager.
Install Android Studio
Android Studio is the cutting-edge Integrated Development Environment for Android apps. Previously, the IDE was based on Eclipse; now it is based on IntelliJ. Although still in active development, I believe Studio is stable and useful enough to be a good choice.
Go here to download the zip file for your platform: http://tools.android.com/download/studio/canary/latest – at the time I’m writing this, the latest is 0.4.3.
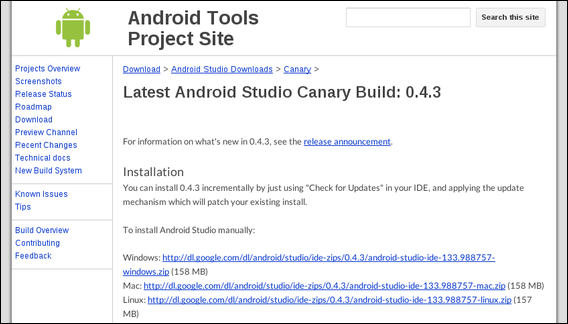
Get the latest zip for your platform
After you open the downloaded zip, you’ll have to “Extract all files:”
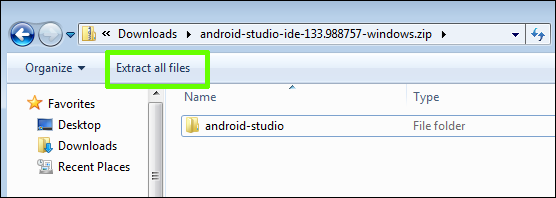
Extract all files
You can choose to extract them to any folder you find convenient, such as “Desktop” or “Documents:”
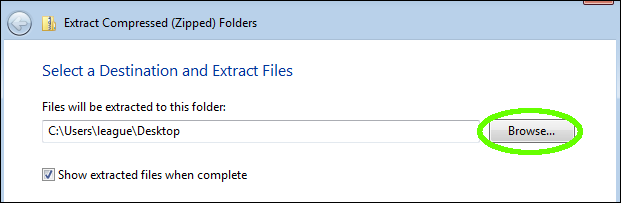
I chose to extract to Desktop
Within the extracted android-studio folder, you should see a sub-folder called bin. Within that, there are executable files called studio.exe and studio64.exe. Again, you have to use the appropriate one for your 32-bit or 64-bit OS. (You can make a shortcut to the correct Studio executable using right-click » Send to… » Desktop.)
Configure Android Studio
When you double-click the Studio executable, you may get a security warning because the software isn’t signed. Run it anyway.
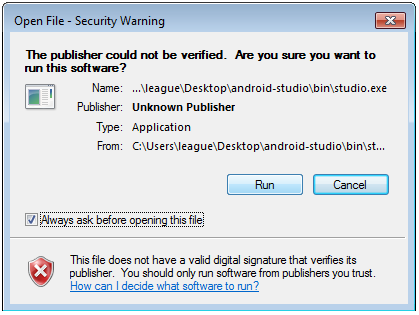
Security warning
As it starts, Android Studio will offer to import settings; I recommend not to.
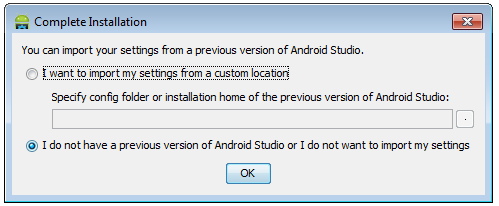
Don’t import settings

Android Studio splash screen
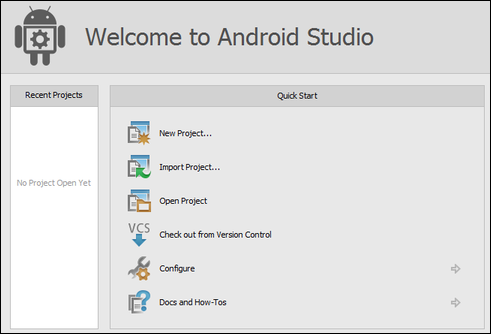
Welcome to Android Studio
Once you see this Welcome screen, select Configure » Project Defaults » Project Structure. In the section for the Project SDK, click New and select Android SDK.
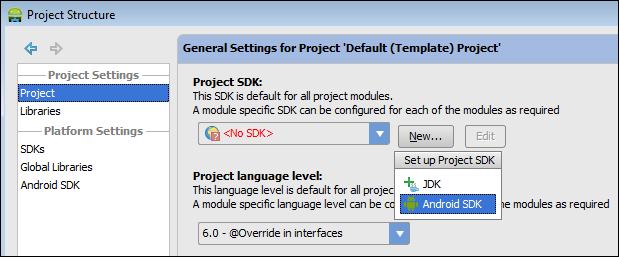
Configure new Android SDK
Then you’ll have to specify the path where your Android SDK was installed. Recall that mine was:
C:\Users\league\AppData\Local\Android\android-sdkYou may need to click the “Show Hidden Files” button (highlighted) to see the AppData folder.
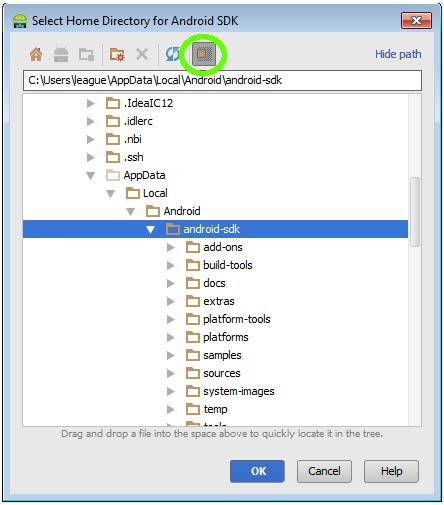
Navigate to your Android SDK folder
Studio will then confirm the versions that it found.
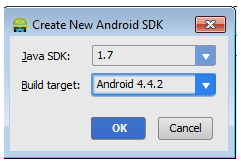
Confirm the SDK versions
Back out to the main welcome screen. Now you should be ready to create the Hello World app.