Android x86 in VirtualBox
This is the fastest way I have found to test Android apps on my laptop. If the accelerated emulator technique using IntelHAXM is working well for you, then this may not be necessary.
Install VirtualBox
If you don’t already have VirtualBox on your machine, download the version for your platform from https://www.virtualbox.org/wiki/Downloads. If the installer gives you any trouble, try rebooting. Run the VirtualBox application. You may just cancel the registration form.
Install Android
The next step is to download the x86-Android installer image from http://android-x86.googlecode.com/files/android-x86-4.0-RC2-eeepc.iso
Once that is available, you can create a new virtual machine in VirtualBox. Select Machine » New…
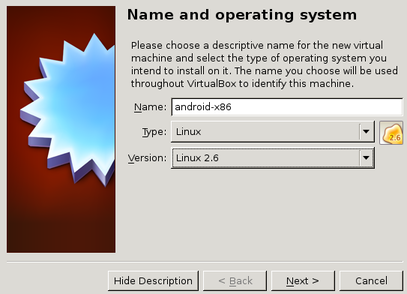
In the “Name and OS” screen, name your new VM “android-x86” or similar. The type should be Linux, and version Linux 2.6.
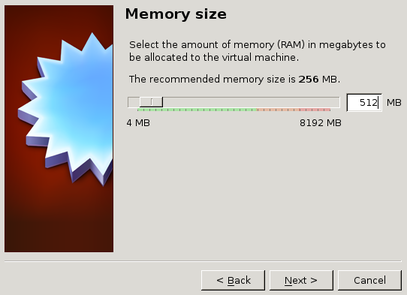
For the memory size, enter 512 MB.
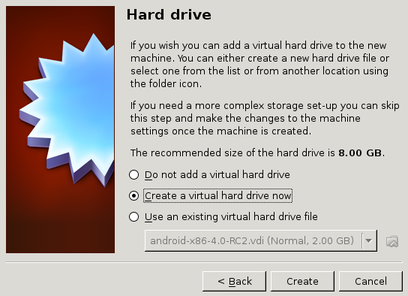
Create a new virtual hard drive.
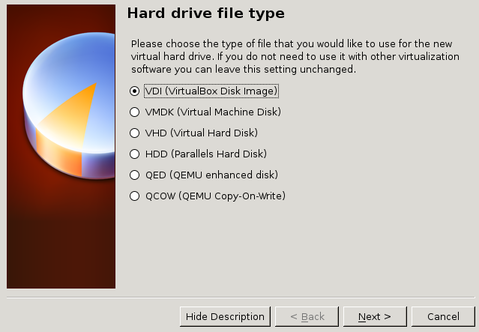
The type can be VDI, the default.
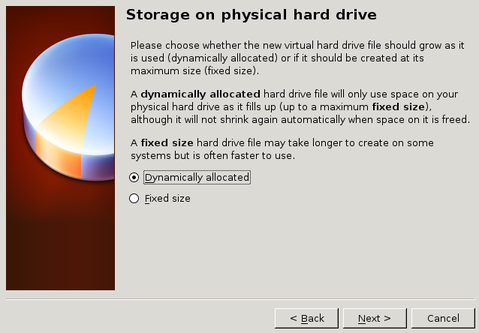
Storage can be dynamically allocated, the default.
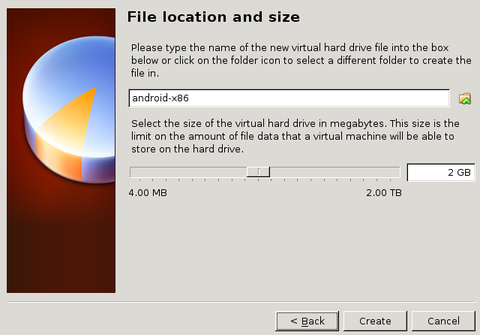
For hard disk size, 2 GB should be fine. After all that, you’ll have a powered off Android virtual machine in the main VirtualBox window.

Before starting it up, we need to adjust a few more settings. With android-x86 selected, choose Machine » Settings… from the menu.
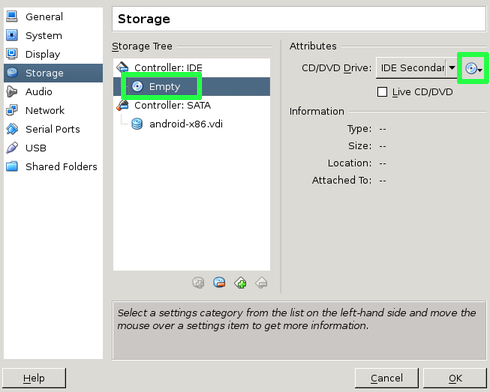
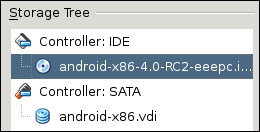
In the Storage section, select the Empty CD, and click the disk icon all the way to the right. On the drop-down menu, select “Choose a Virtual CD/DVD Disk File,” and navigate to the android-x86-4.0-RC2-eeepc.iso you downloaded. When you have it selected correctly, the storage tree will look like this:
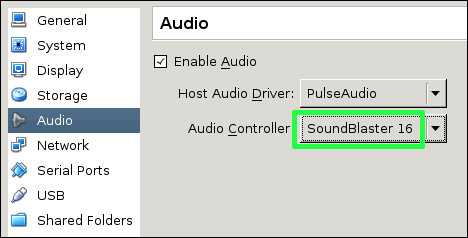
Next, in the Audio section, set the Audio Controller to “SoundBlaster 16.”
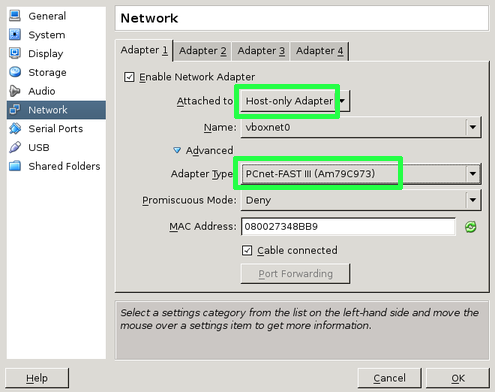
Finally, in the Network section, choose “Host-only Adapter” instead of NAT. Also, in the Advanced section, you must set the Adapter Type to “PCnet-FAST III.”
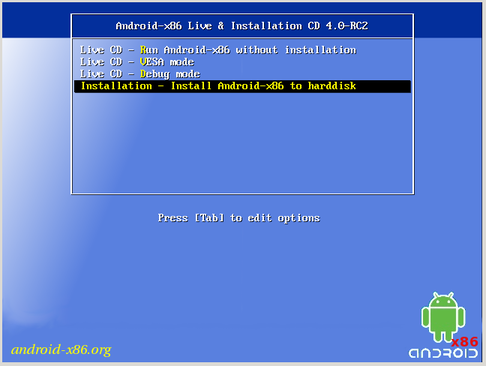
Hit OK to save all those settings. Now you can use Machine » Start (or the toolbar) to power on your Android machine. The initial screen looks like this: use the arrow keys to select Installation.
The next part is a little tricky. You’ll have to create a partition on your virtual disk. In all of these screens, the mouse will not work; use the arrow keys and Enter to select something.
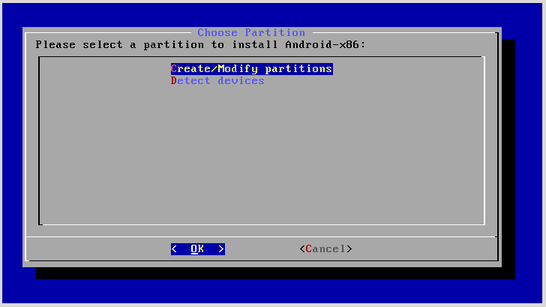
The partition editor looks like the following.
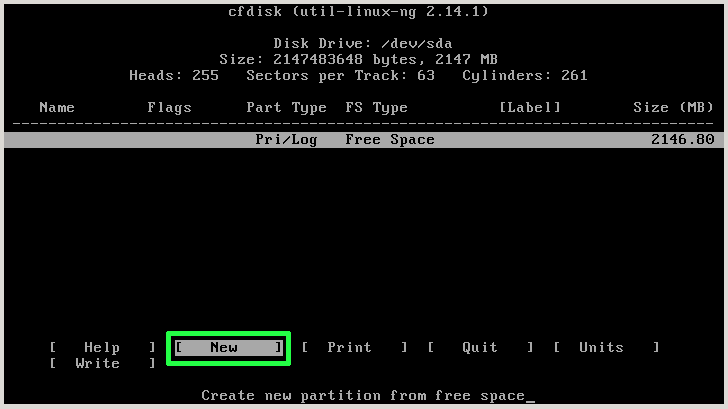
Use the right arrow key, and press enter to select New.. The press enter for Primary, enter again for default size, and enter again to make it Bootable.
Right-arrow over until Write is highlighted, press enter. Type “yes” to confirm, press enter. Right-arrow until Quit is highlighted, press enter.
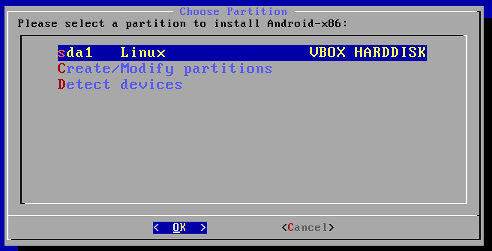
On the next screen, you can select your new partition.
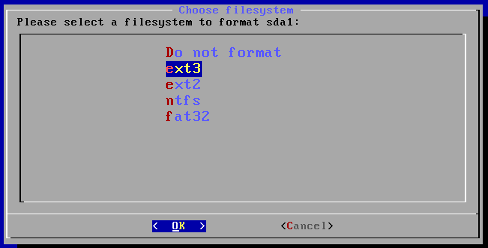
Format the partition as ext3.
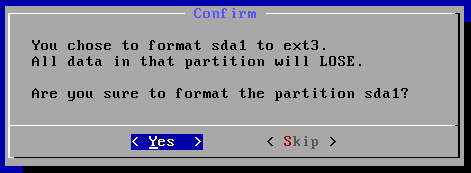
Confirm the format. Don’t worry, this is formatting your virtual disk, not your real one.
There will be a few additional screens, to install “GRUB,” and something about making /system read-write. You can just go with all the defaults.
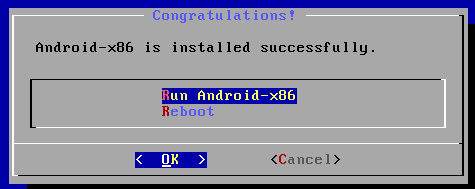
Once installed, go ahead and run Android-x86.
You’ll see the boot-up screen.
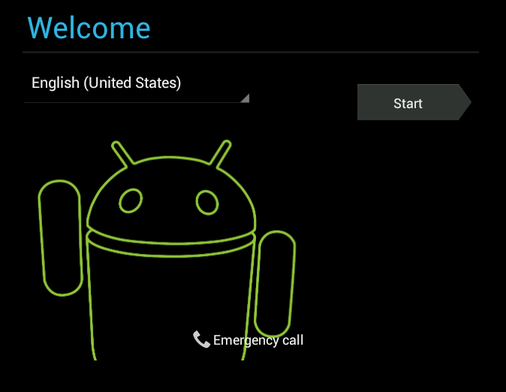
And then a welcome wizard. You are now free to use the mouse but you may need to select Machine » Disable Mouse Integration for it to work. Clicking in the virtual machine window will then “capture” the mouse. To release it back to your regular OS, press your “host” key, which is usually the right shift key (but it can be configured in the VirtualBox preferences).
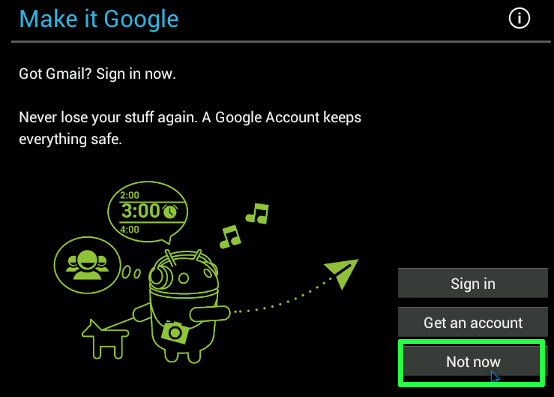
When you get to the Google sign-in step, ignore it, even if you have a Google account. Your Android system will not be able to access the Internet, for the time being.
After finishing the start-up process, you’ll see the home screen, perhaps with some other tips you need to dismiss.

Sometimes your virtual tablet will appear in the locked state.
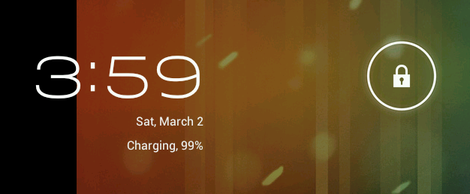
To lock and unlock, use Machine » Close… from the menu, or right-shift + Q. Then select “Send the shutdown signal.”
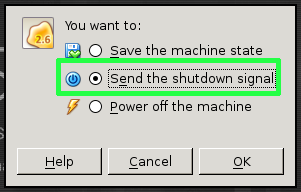
That simulates pressing the power button, and then you need to drag the padlock icon to the right, as it will indicate in the animation.
ADB Connect
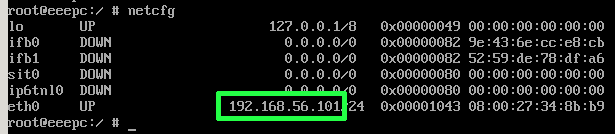
To run your own apps on the virtual tablet, you’ll need to determine its IP address. With the tablet window selected, press Alt-F1. It should switch to a black-and-white console screen with a prompt that ends in #.
At the prompt, type netcfg and press enter. Then make a note of the IP address next to eth0.
Use Alt-F7 to switch back to the main graphical Android view.
Now, in a command-line window on your host OS (Command Prompt on Windows, or Terminal an Mac), you’ll need to figure out how to run the adb command. It probably won’t work automatically, but it can be found in the platform-tools subdirectory of your Android-SDK installation. On windows, that’s usually in:
cd AppData\Local\Android\android-sdk\platform-toolsThen you would connect to your virtual tablet like this:
adb connect 192.168.56.101(or substitute whatever IP address you noted from netcfg.) The output should be something like:
connected to 192.168.56.101:5555Run from IntelliJ
Back in your IntelliJ project, you’ll want to select Run » Edit Configurations. Under Target Device, select “Show chooser dialog” and hit OK.
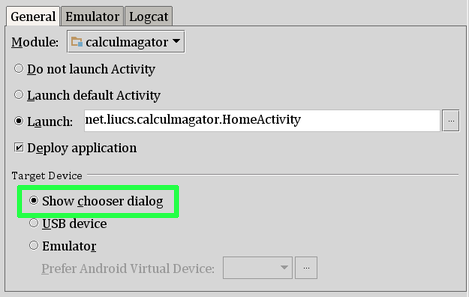
Now, when you run your program, IntelliJ will pop up the chooser. As long as ADB is connected, you should see the IP address show up there. You may need to redo the adb connect step after a reboot.
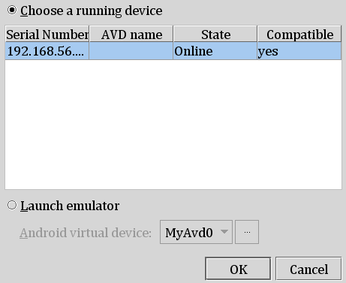
SDK Compatibility
If the chooser says “no” under the Compatible column, you may need to set or revise the minimum-SDK entry in your project’s AndroidManifest.xml.

Look for a line like this, or add one, just after the <manifest> tag.
<uses-sdk android:minSdkVersion="15"/>The SDK supported in the current version of the virtual tablet is 15.